How to easily vectorize detailed ink drawings with Adobe Illustrator
Easily vectorize detailed ink drawings with Adobe Illustrator
Do you want to vectorize a detailed ink drawing without crashing your computer? I’ve found the perfect Image Trace settings to do just that — check out the simple 3-step process and video tutorial.
If you click on links with this little ☞ icon and make a purchase, I may make a small commission at no extra cost to you. This helps keep annoying pop-up ads off my site. I only recommend products that I’ve personally used and believe in. Learn more here.
What you’ll learn in this Adobe Illustrator tutorial
How to use Adobe Illustrator’s Image Trace to vectorize a detailed sketch without losing detail
How to save a custom Image Trace preset
How to optimize your vector paths and points to keep your file size manageable
Resources used in this tutorial
Video: How to scan, vectorize, and optimize your detailed artwork
Step-By-Step instructions
Step 1: Scan your image at high resolution [settings below]
I like to scan my drawings in black and white at 600 DPI, making a JPEG with small manual image corrections of brightness and contrast for a nice clean scan.
I make most of my ink drawings with a Staedtler Pigment Liner (0.7) pen☞ on simple printer paper.
Why do I use printer paper?
it’s bright white and nice and smooth
it fits perfectly on my scanner
it isn’t too “precious” to sketch with, aka cheap.
Because it’s inexpensive, it helps me be loose and free with my drawings. If it doesn’t work out, into the recycle bin it goes, and I start with a fresh piece.
After you’re happy with your drawing, you’ll want to scan it in at the highest DPI you can, which gives Adobe Illustrator lots of pixels to work with in the next step.
I’m using a Canon LiDE 120 Scanner which goes up to 600 DPI. The current version of this scanner is the Canon LiDE 300☞, which I’ve linked here.
Step 2: Image Trace with these settings in Adobe Illustrator
This image shows my poppy drawing next to the settings outlined here. See how the drawing still looks like the original?
Drag your newly-scanned image into a new document in Adobe Illustrator. Open the Image Trace menu and, with your image selected, enter these settings:
View: Tracing Result
Mode: Black and White
Threshold: Start at 115 (can be adjusted later)
Expand the Advanced menu and use these settings:
Paths: 98%
Corners: 75%
Noise: 1 px
Create: ☑️ Fills
Options: ☑️ Snap Curves to lines and ☑️ Ignore White
After you have entered these settings, click Preview to see the result.
Tip: Adjust the Threshold up for darker, thicker lines, and down for thinner, finer lines.
You’ll probably want to save your settings as a custom preset so you can speed up your vectorizing process.
Optional: Save your settings as a preset
If you’re happy with your settings and would like to use them in the future, you can create a preset. **Be sure to do this before you expand your drawing, or you’ll have to re-enter them next time.
Choose the Manage Presets hamburger menu next to the Preset dropdown. Choose Save as New Preset and type in a name. I used “Pen and Ink” as my preset name.
Now when you choose the Preset dropdown menu, your preset will show up at the bottom of the menu.
Step 3: Optimize your file size with Simplify Paths
When you’re happy with the way your image looks, click Expand in the top menu to convert your image to vectors.
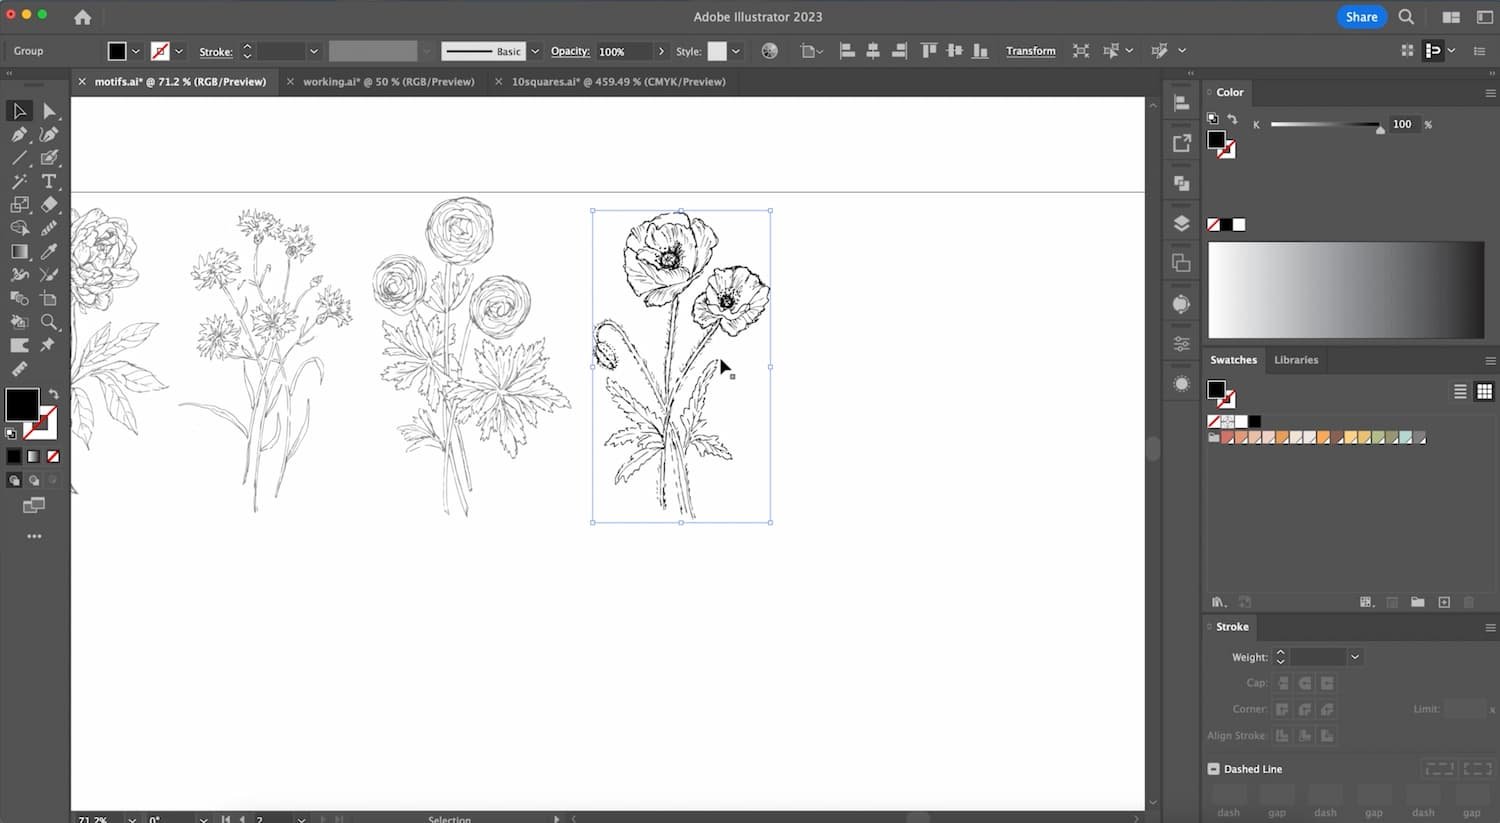
Object > Path > Simplify took this drawing from 18210 points to 6180 points, nearly a 3-fold reduction. Now Illustrator won’t have to spend processing power rendering all of those points.
Now that we have a vector image, we can make it as large or as small as we want without losing resolution. However, if you have a really detailed drawing, you’ll want to reduce the number of anchor points in order to keep your document running smoothly.
This is really easy to do using the Simplify command.
Navigate to the Object menu > Path > Simplify. If you haven’t used this command before, you’ll get a small rectangular dialog with some mysterious symbols. Click the three dots to get a larger, more helpful dialog box.
I like to use this larger dialog by default, so I check the box next to Retain my latest settings and directly open this dialog.
You can play with settings here if you’d like, but I love the Auto-Simplify Button.
In this example, you can see it has take my vector image from over 18000 points to around 6100 points. This is the magic of Simplify — if you do this with each drawing you scan in, it can really add up — especially if you’re making a pattern out of multiple hand-drawn motifs.
And there you have it! I hope you give it a try and do let me know if you have any questions.
Understanding the Basics: Vectorizing a Detailed Ink Drawing with Adobe Illustrator
-
Starting with a high-res image will give Image Trace the best starting place and the most pixels to work with.
-
Using the settings outlined above will give you a great result every time. You can even save it and speed up your vectorizing process by making your own custom Image Trace preset.
-
Utilize Object > Path > Simplify to remove unnecessary anchor points. This will help your drawing render faster and keep your file smaller. Less app crashes = happy designer!


Create your own vintage Christmas decor with this retro Christmas fabric panel! Featuring 1950s style Christmas ornaments in pink, turquoise, red, and gold, this cut-and-sew design is perfect for crafting festive DIY decorations. Printed on denim or canvas, the fat quarter panel offers easy instructions for making timeless pink Christmas ornaments with charm and style!